
Not every quilt needs a binding. Yes I said it.
For my art quilts I usually do a facing. I want my art to go edge to edge without the “frame” a binding can create. (Not to mention I get much sharper corners with a facing!) Sometimes a binding is a visual distraction, other times just a waste of effort. For this mini quilt I knew I wanted a solid black fabric border to create a bold “frame” but putting a black binding on top of the black border falls under the category of waste of effort. This is when I use my modified pillowcase finish. (Titles not showing under photos… just count along!)
Cut your backing and batting the same size as your quilt top.
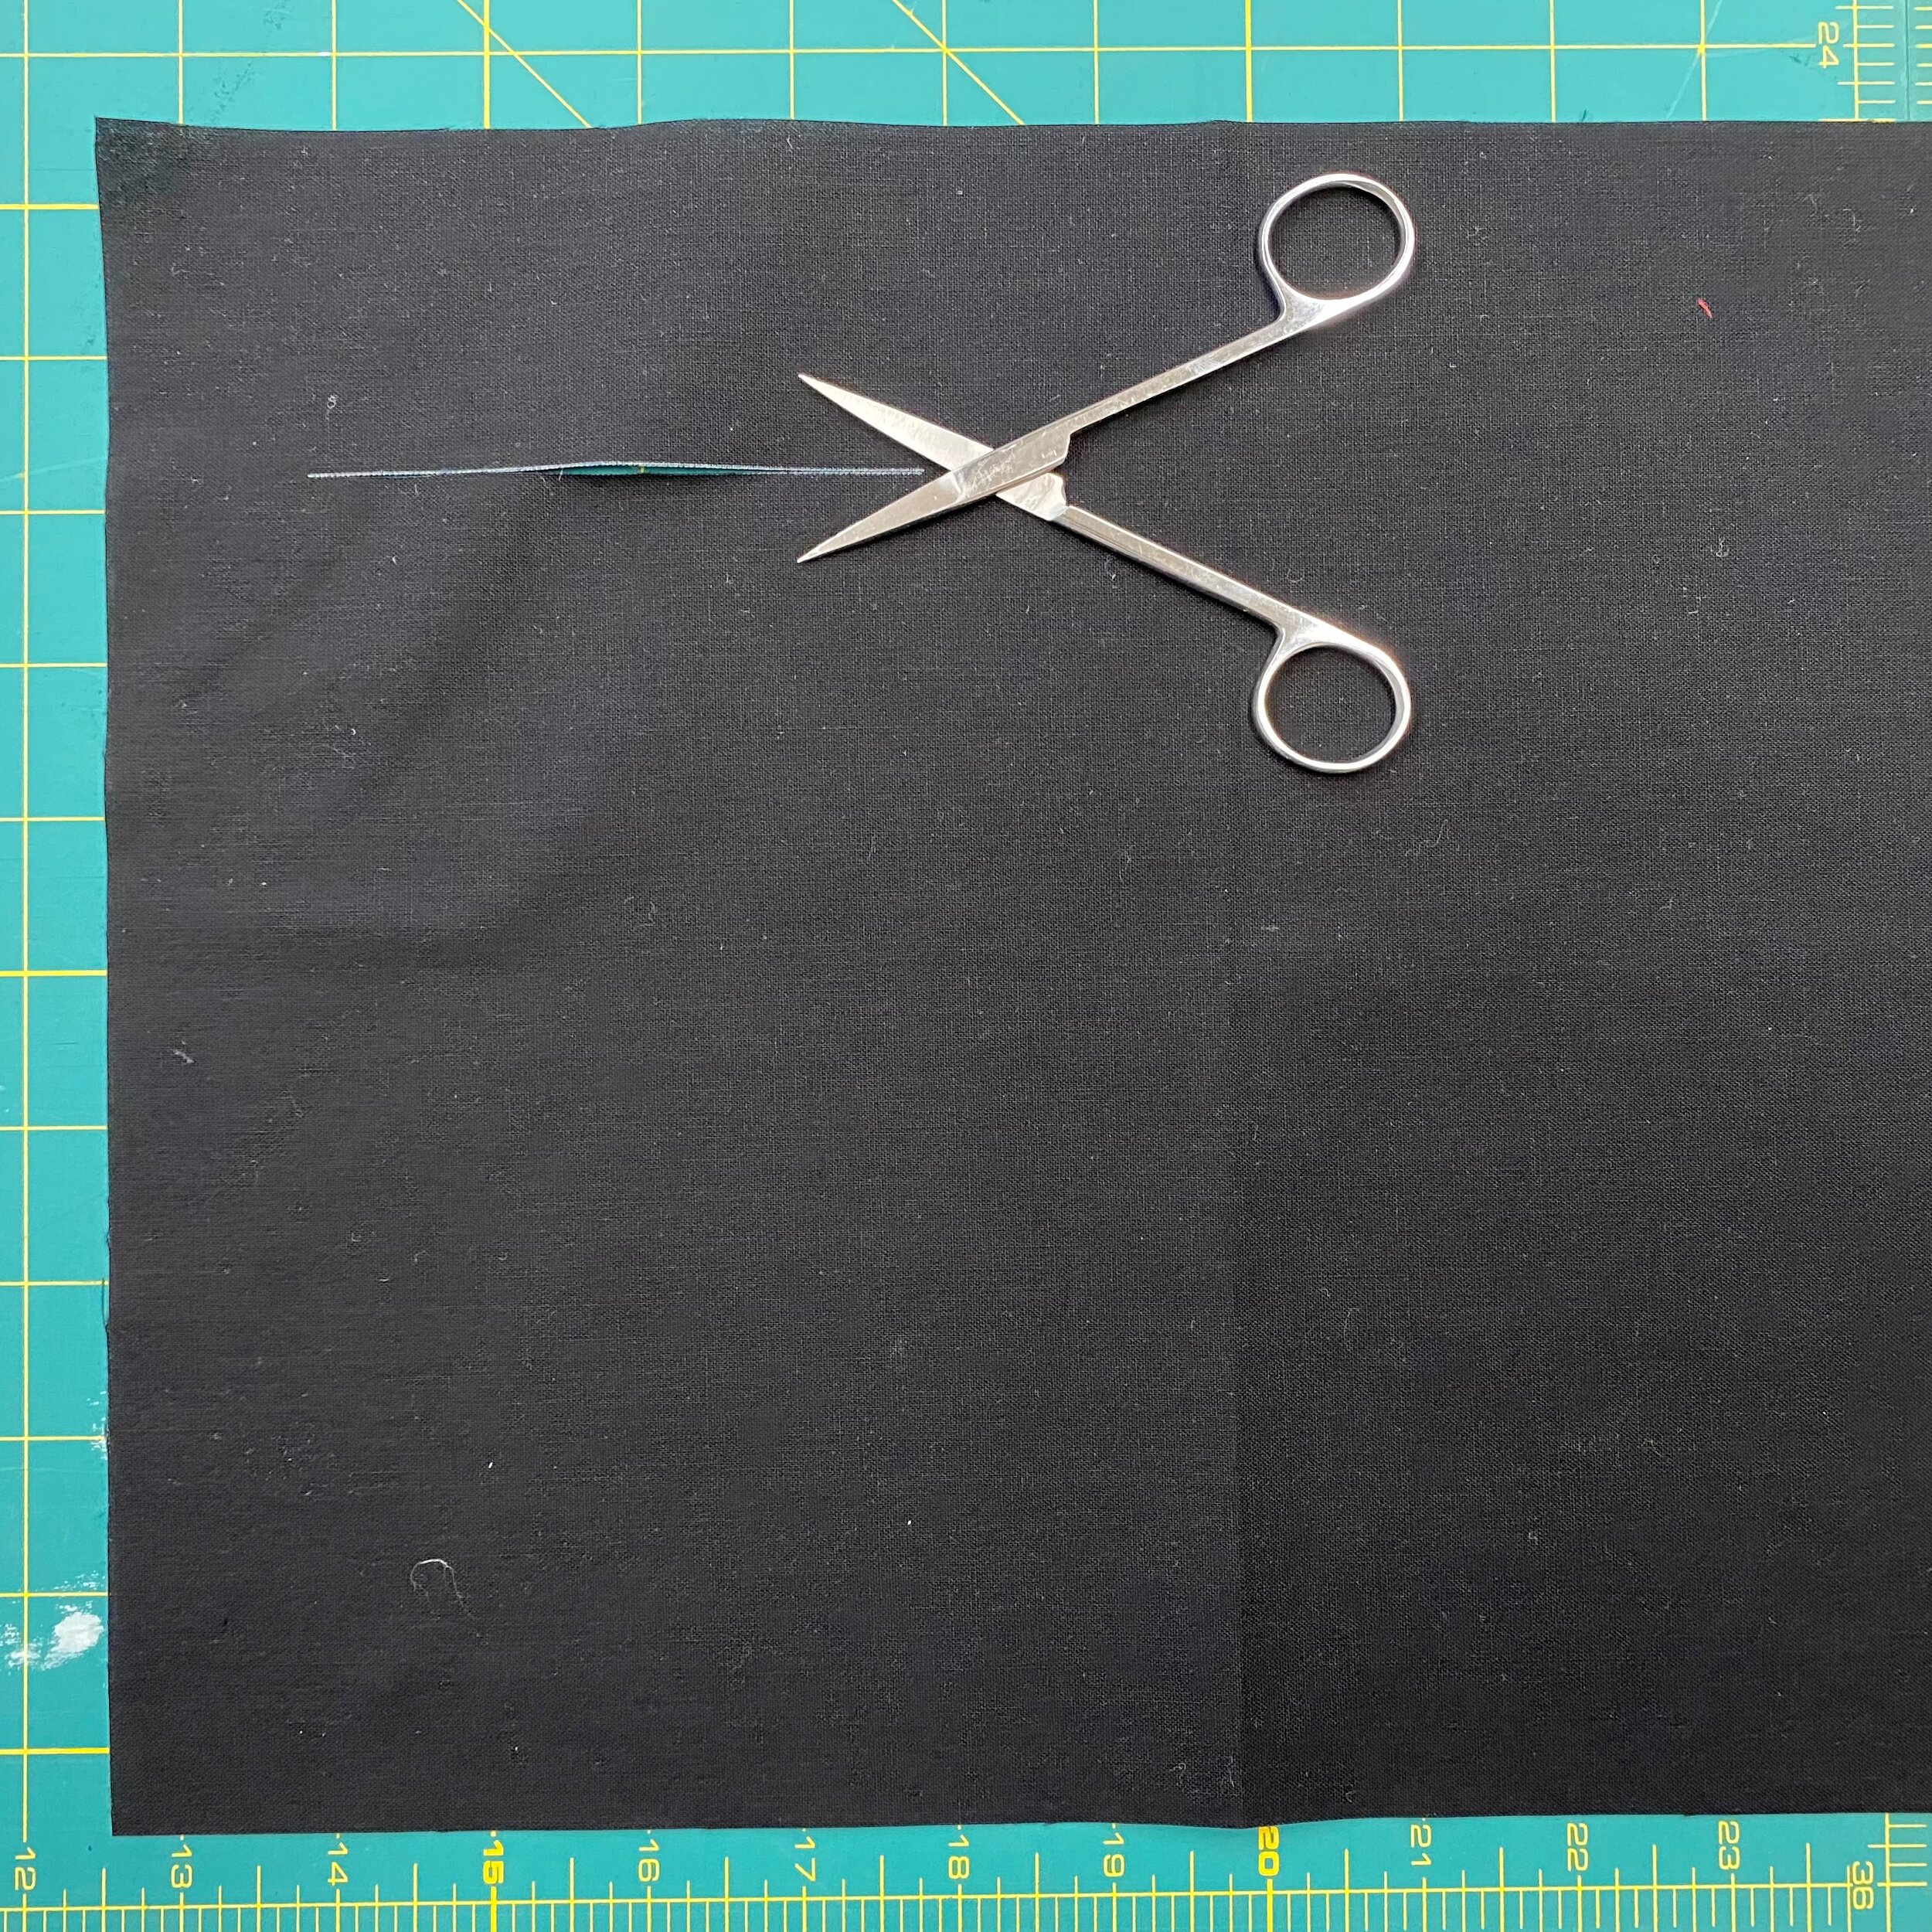
Cut a 4” slit in the fabric upper left quadrant staying at least 1” away from edges. (Fig 1) opening will end up on lower left corner, shift to right or center according to your label placement preference.
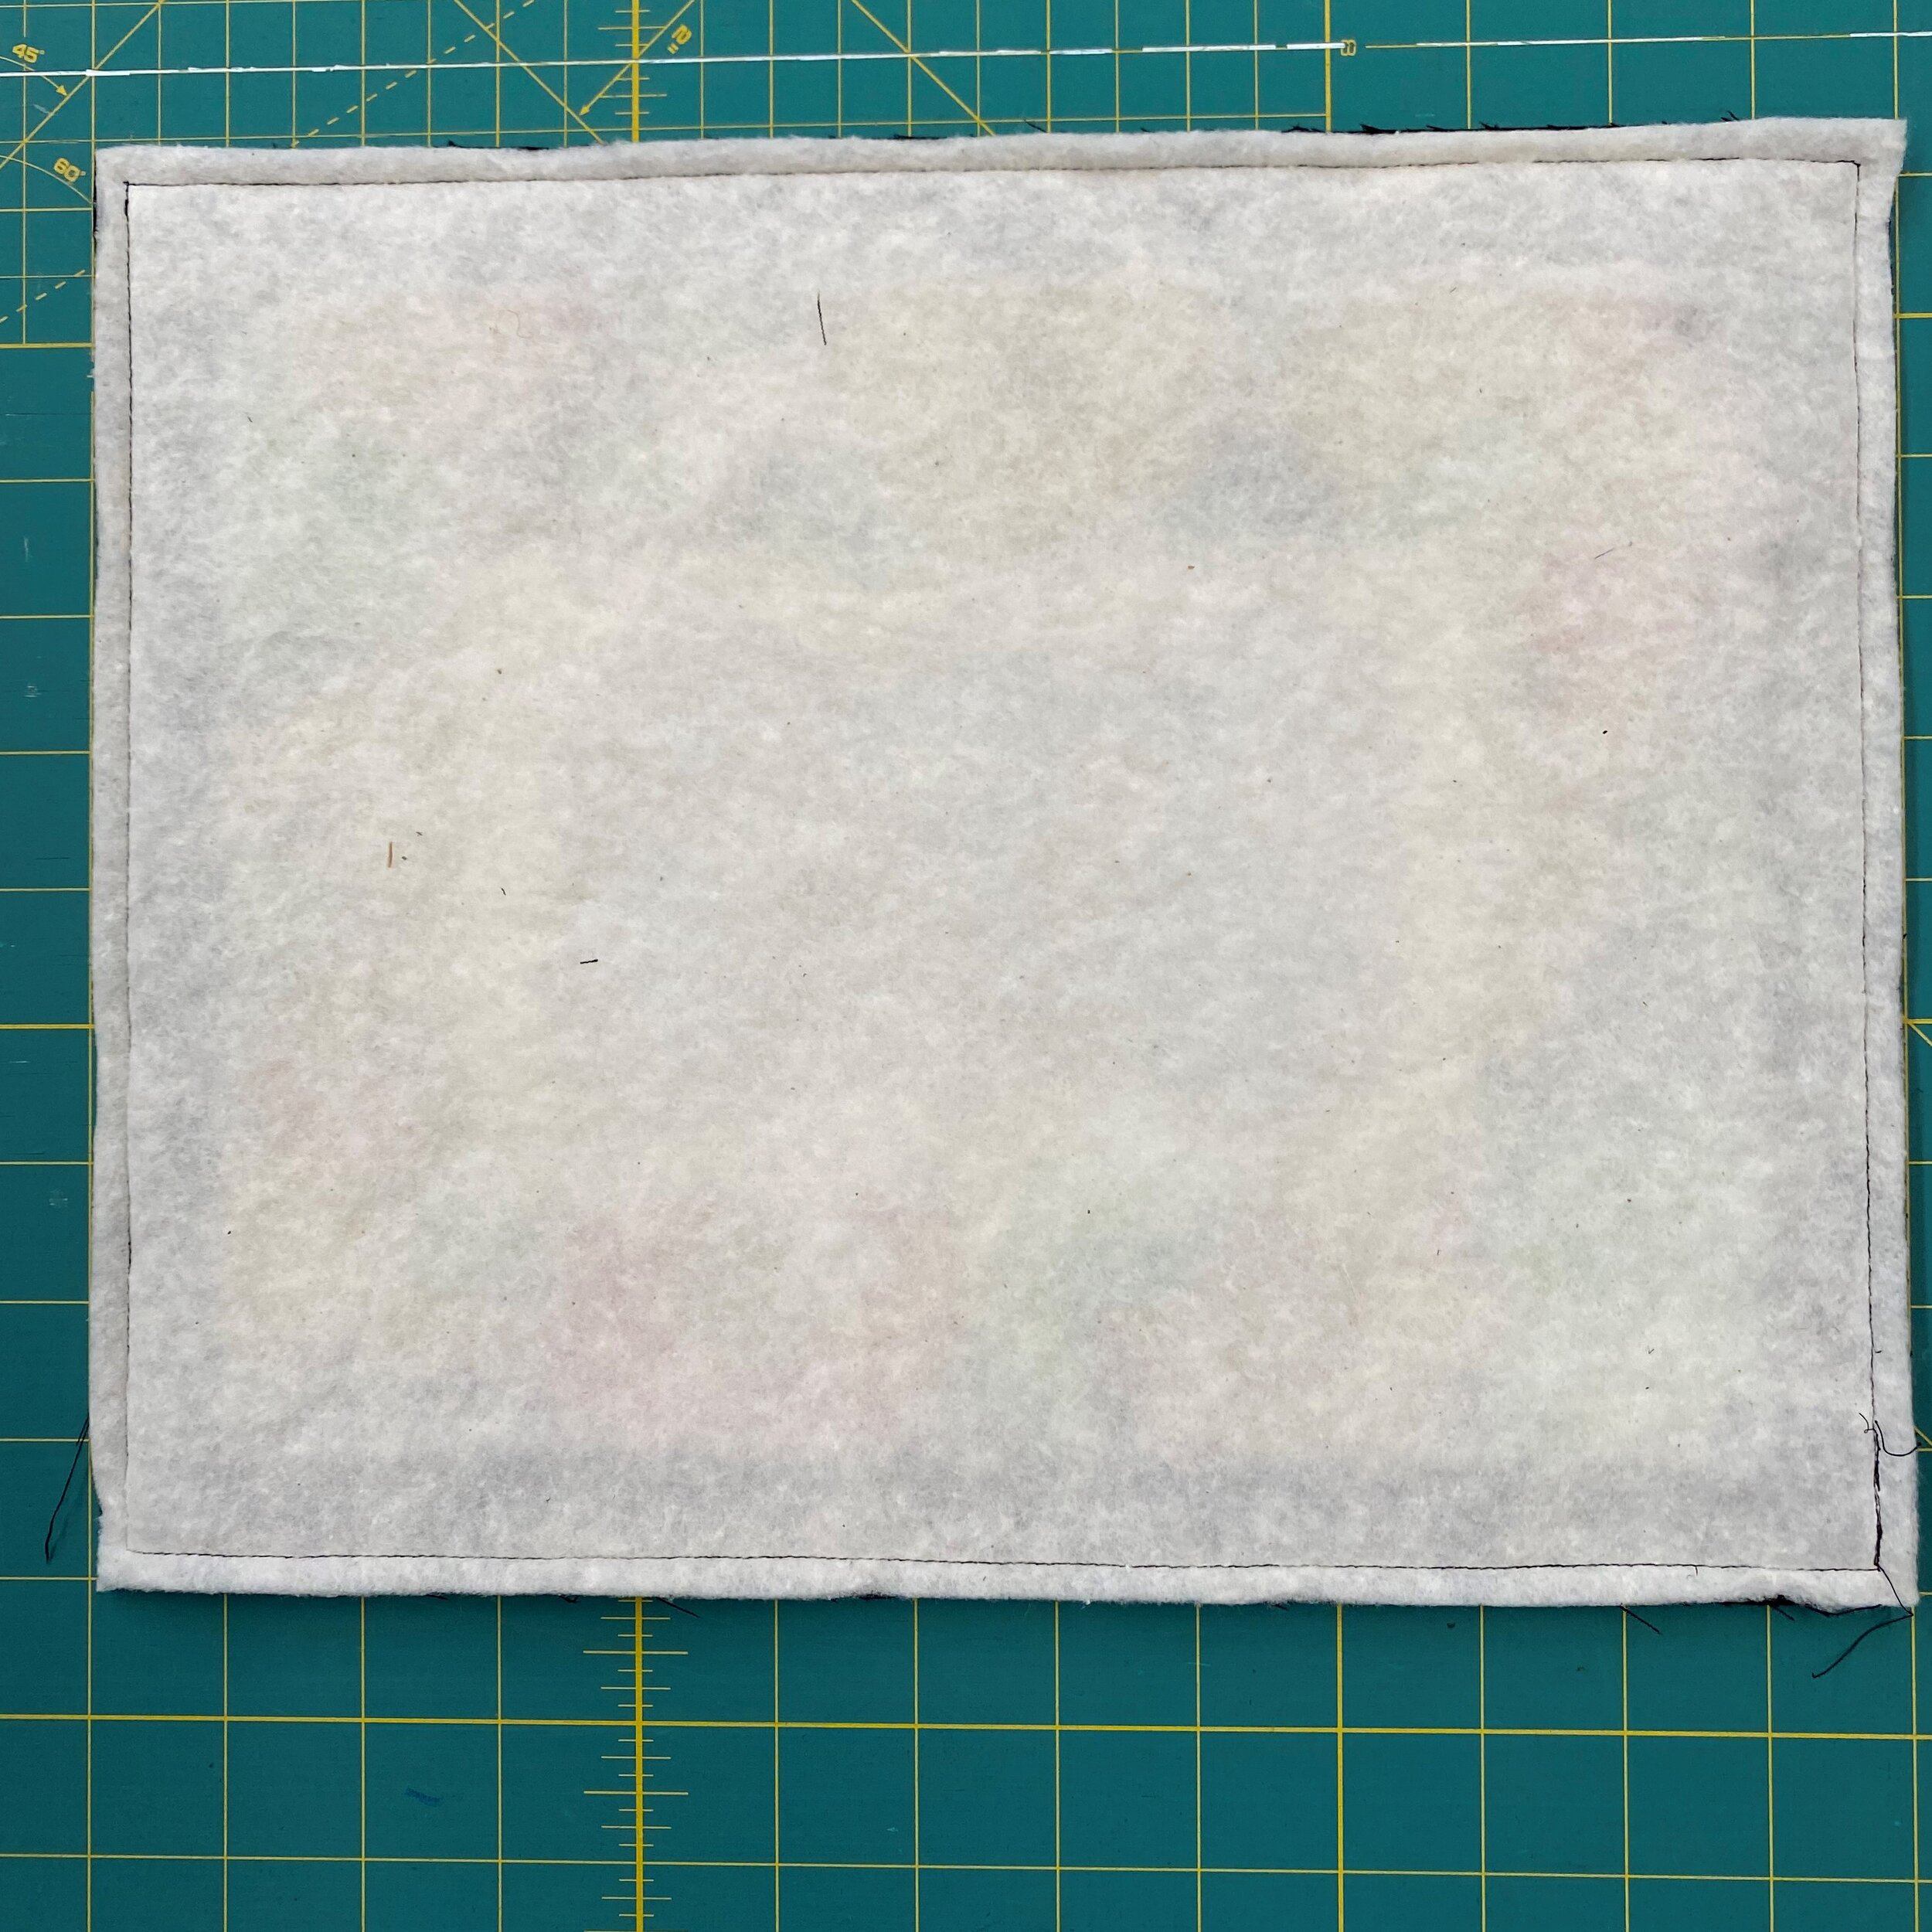
Stack the 3 layers and pin: backing face up, top face down, batting on top. You will have the fabric right sides together with the batting on top. Stitch seam with 1/4” seam allowance all the way around the outer edge. (Fig 2) Trim batting away from the corners being careful not to cut the stitches.
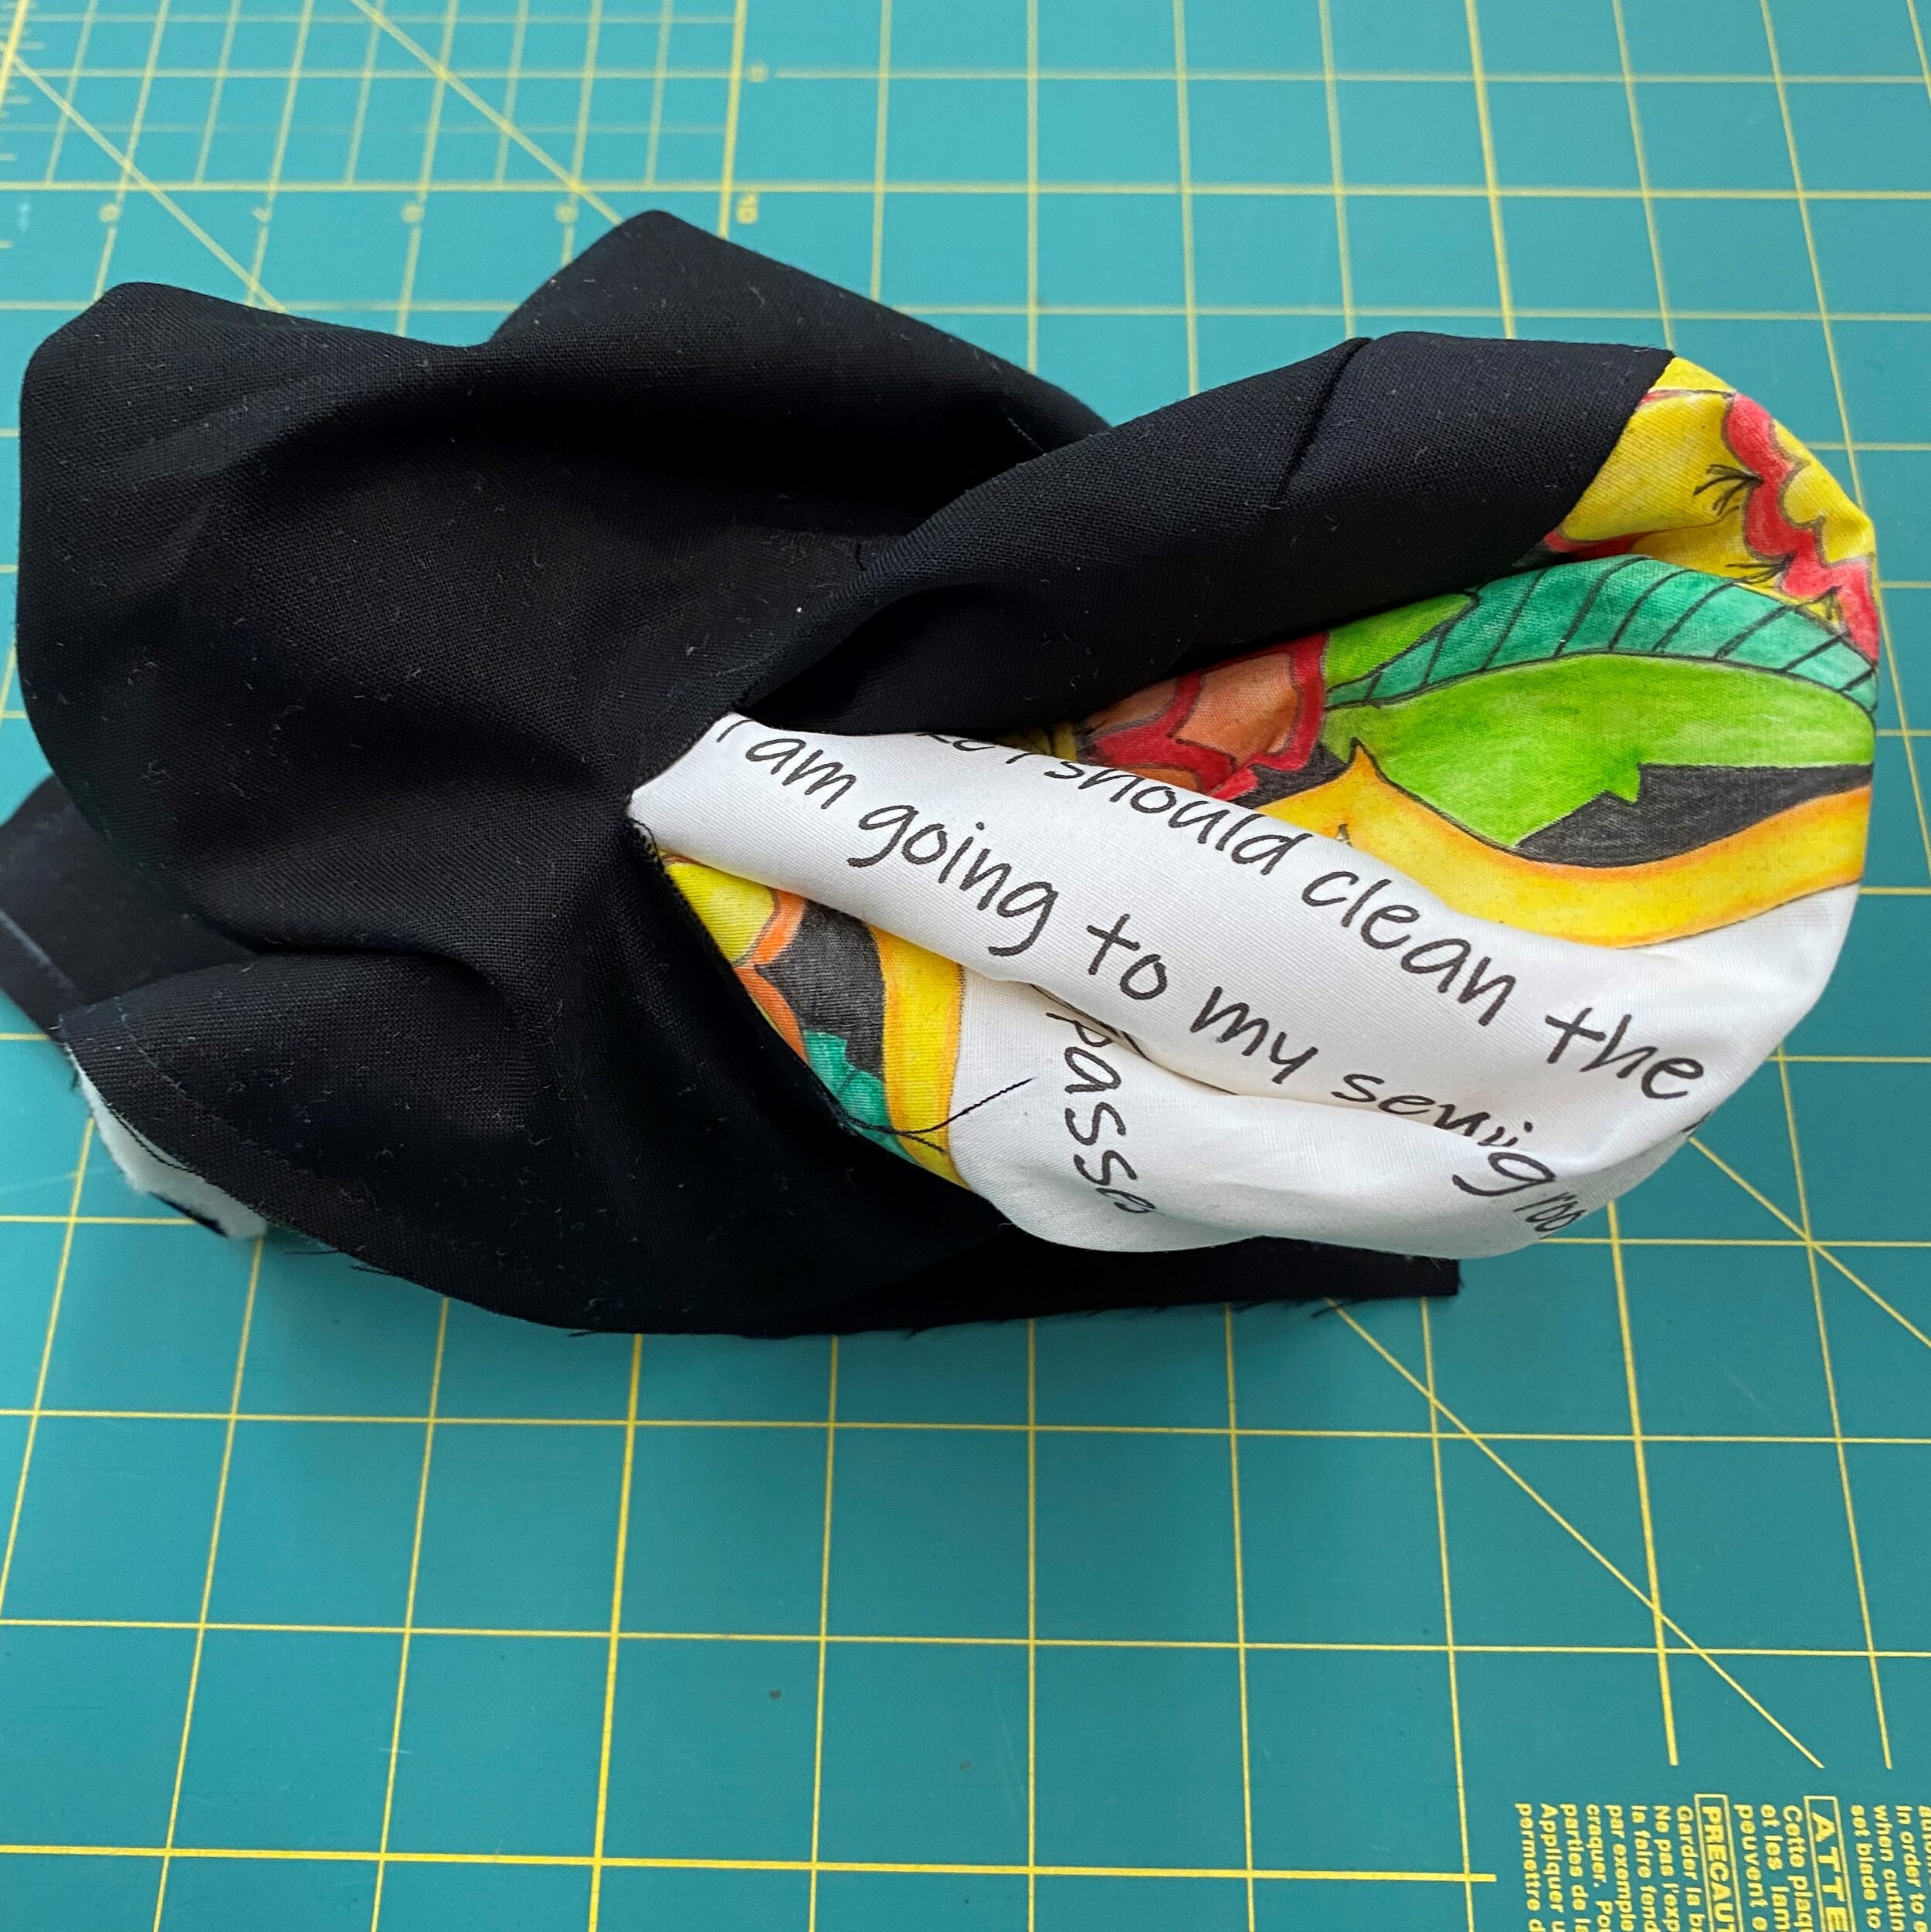
Pull quilt top out through slit in fabric backing. (Fig 3) Flatten and smooth out use purple thang or cuticle stick to work corners out into shape.
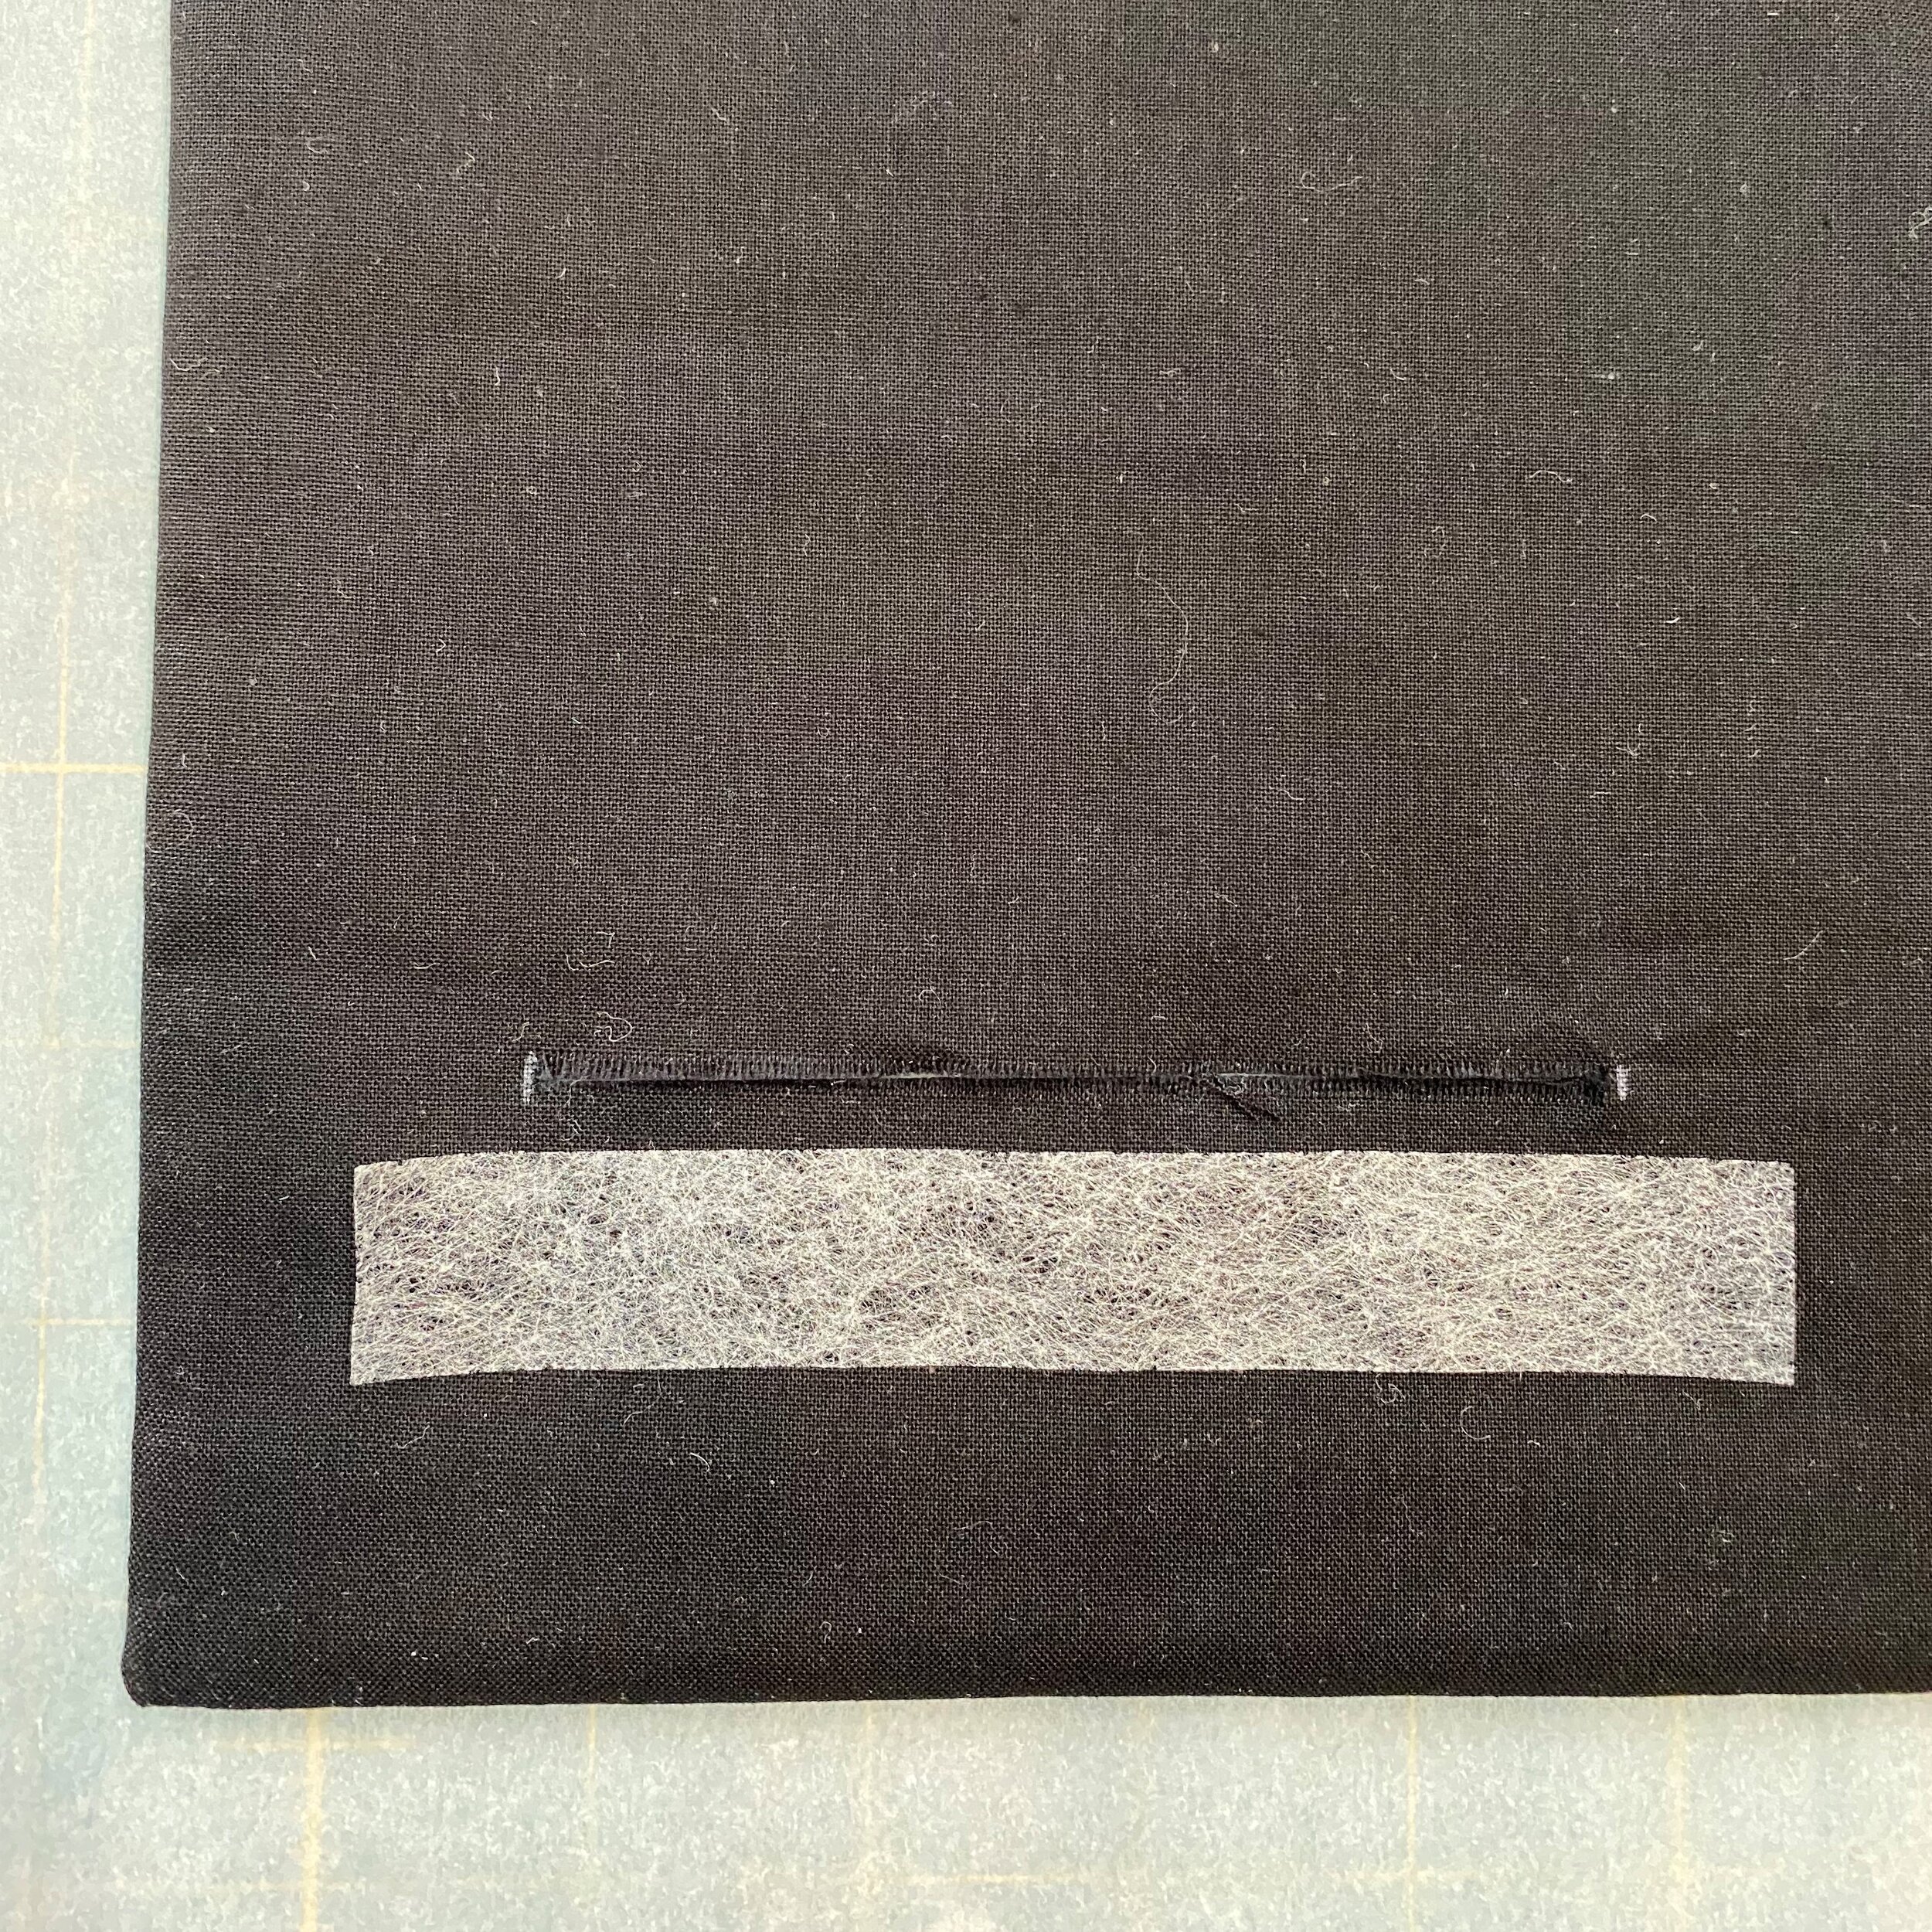
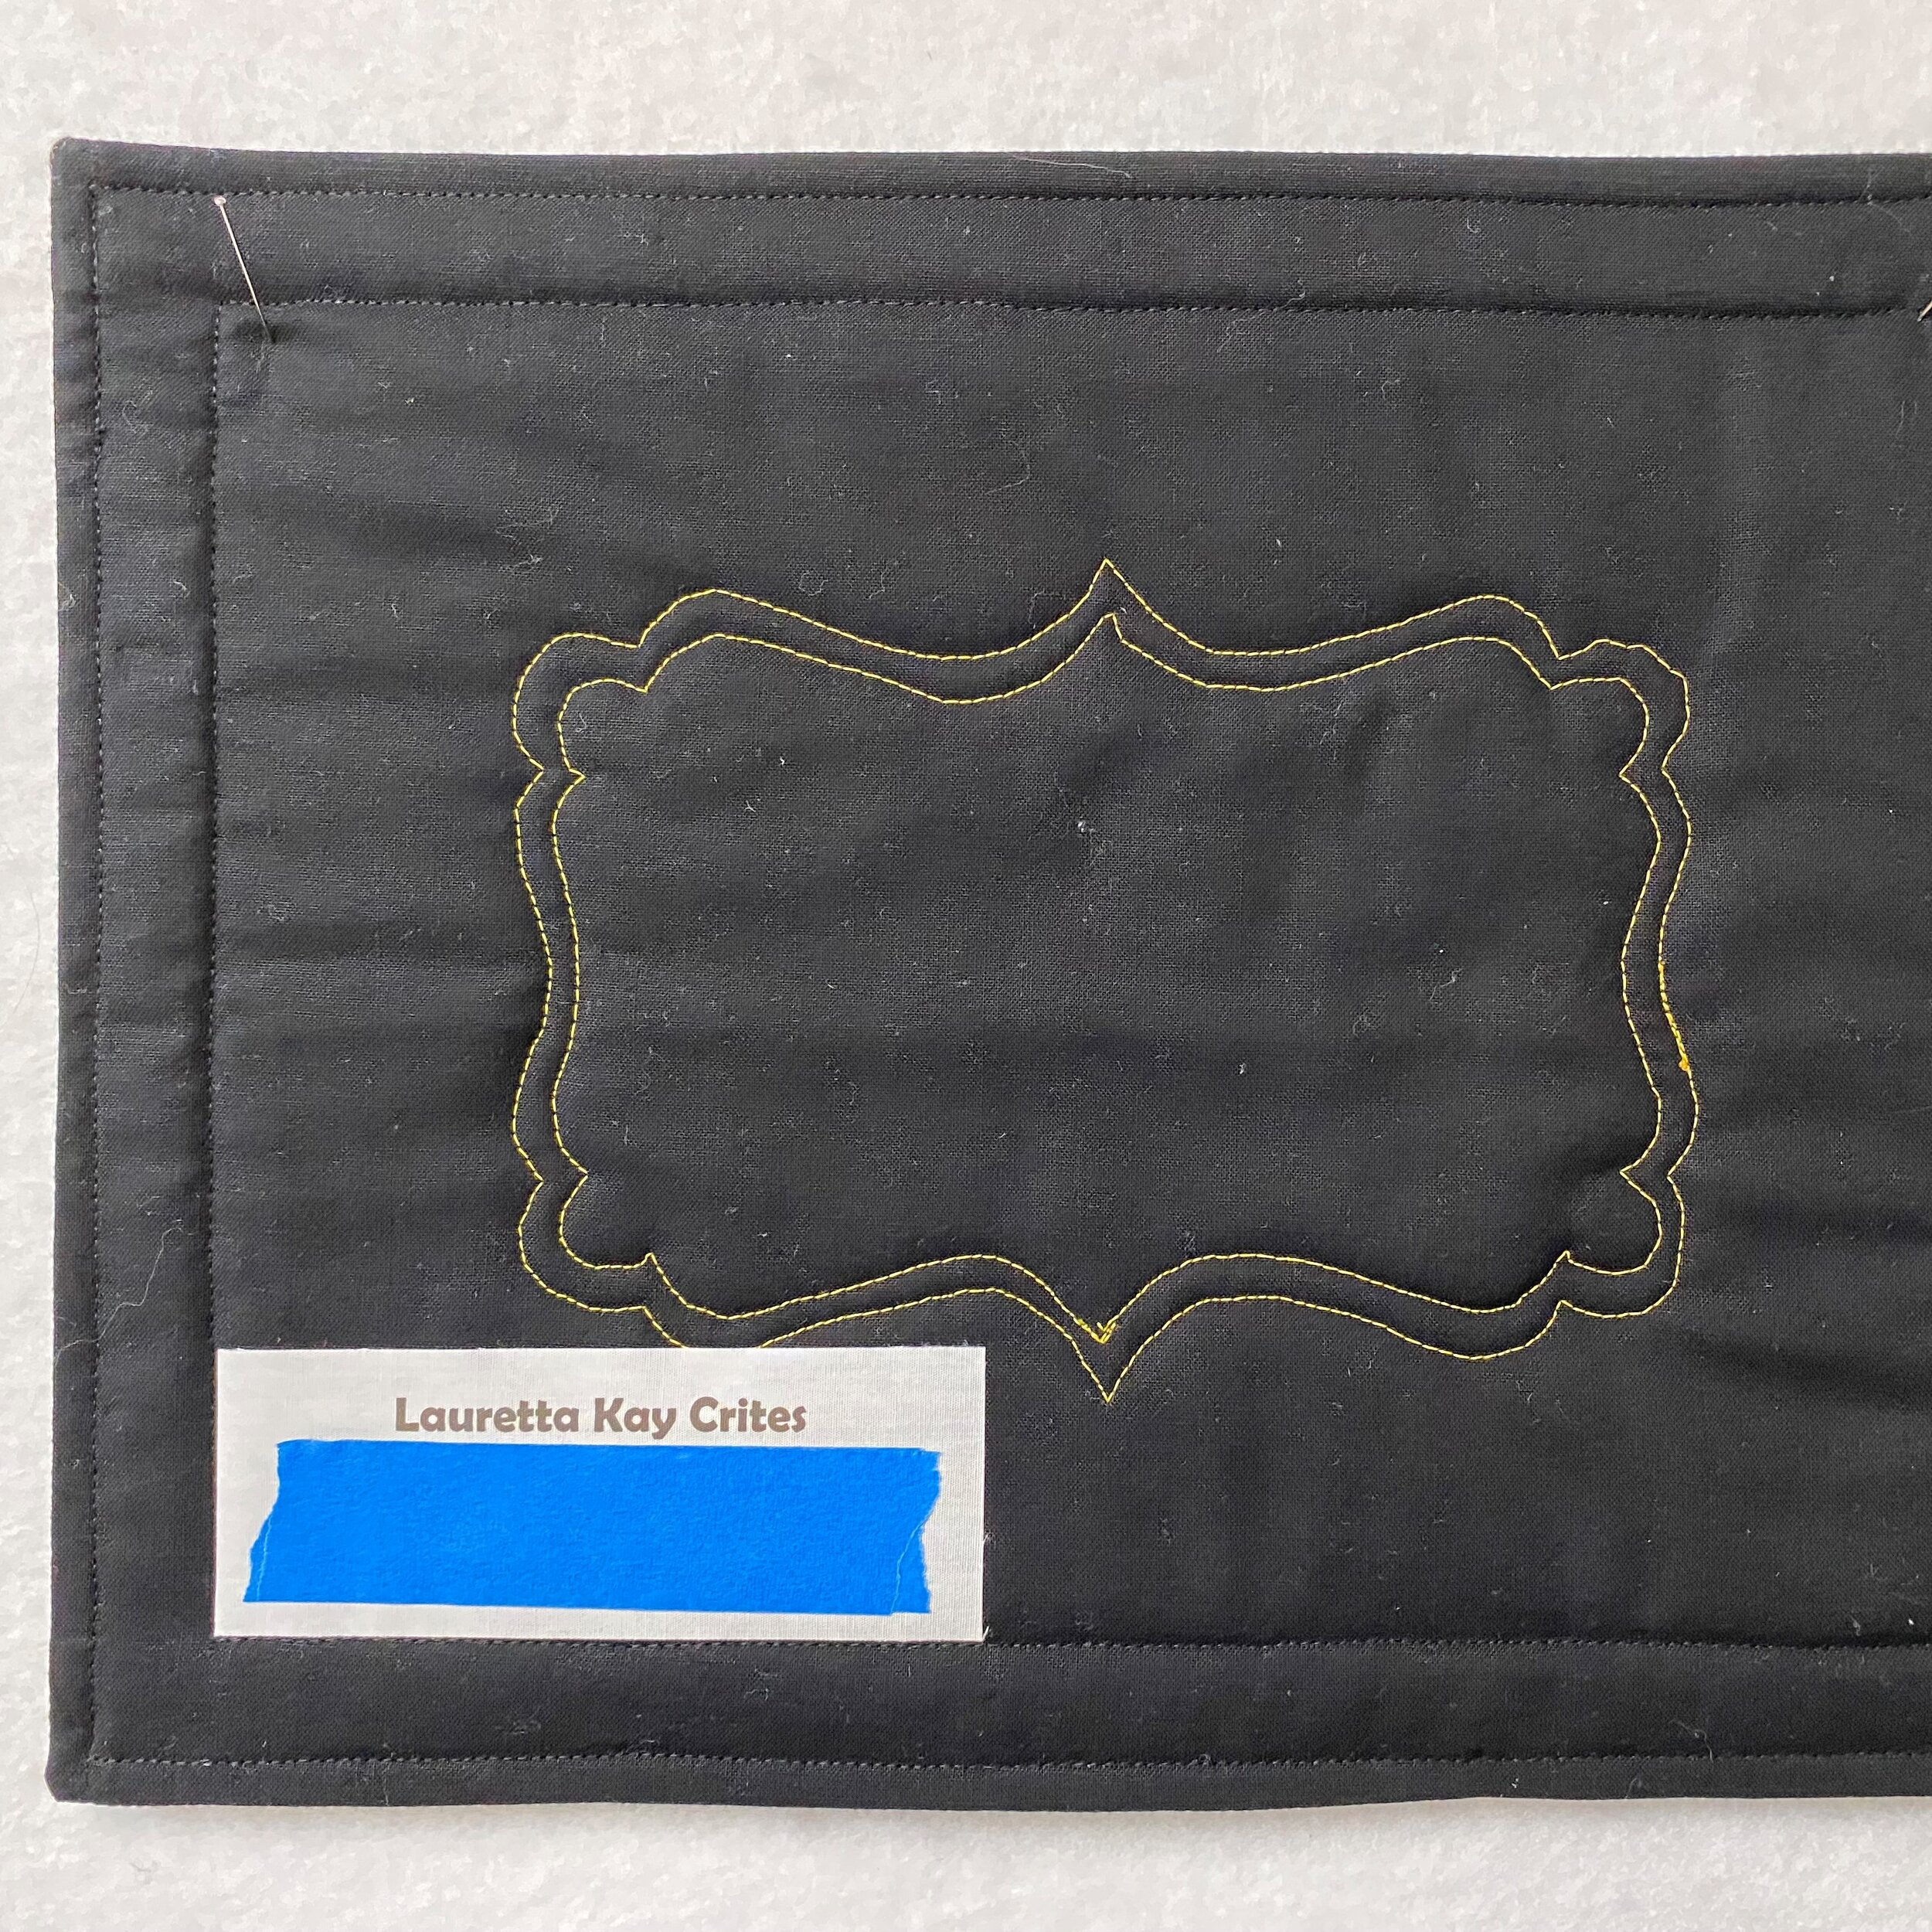
With everything smooth and flat, cut a piece of fusible slightly larger than the slit you cut into the fabric (Fig 4), Slip fusible web into the quilt under the slit and fuse according to package directions. Stitch all around outside edge using 1/4” Seam allowance and do any other quilting you desire. You can see from the back I did minimal quilting on this mini. Fuse a label over the slit to finish. (Fig 5)
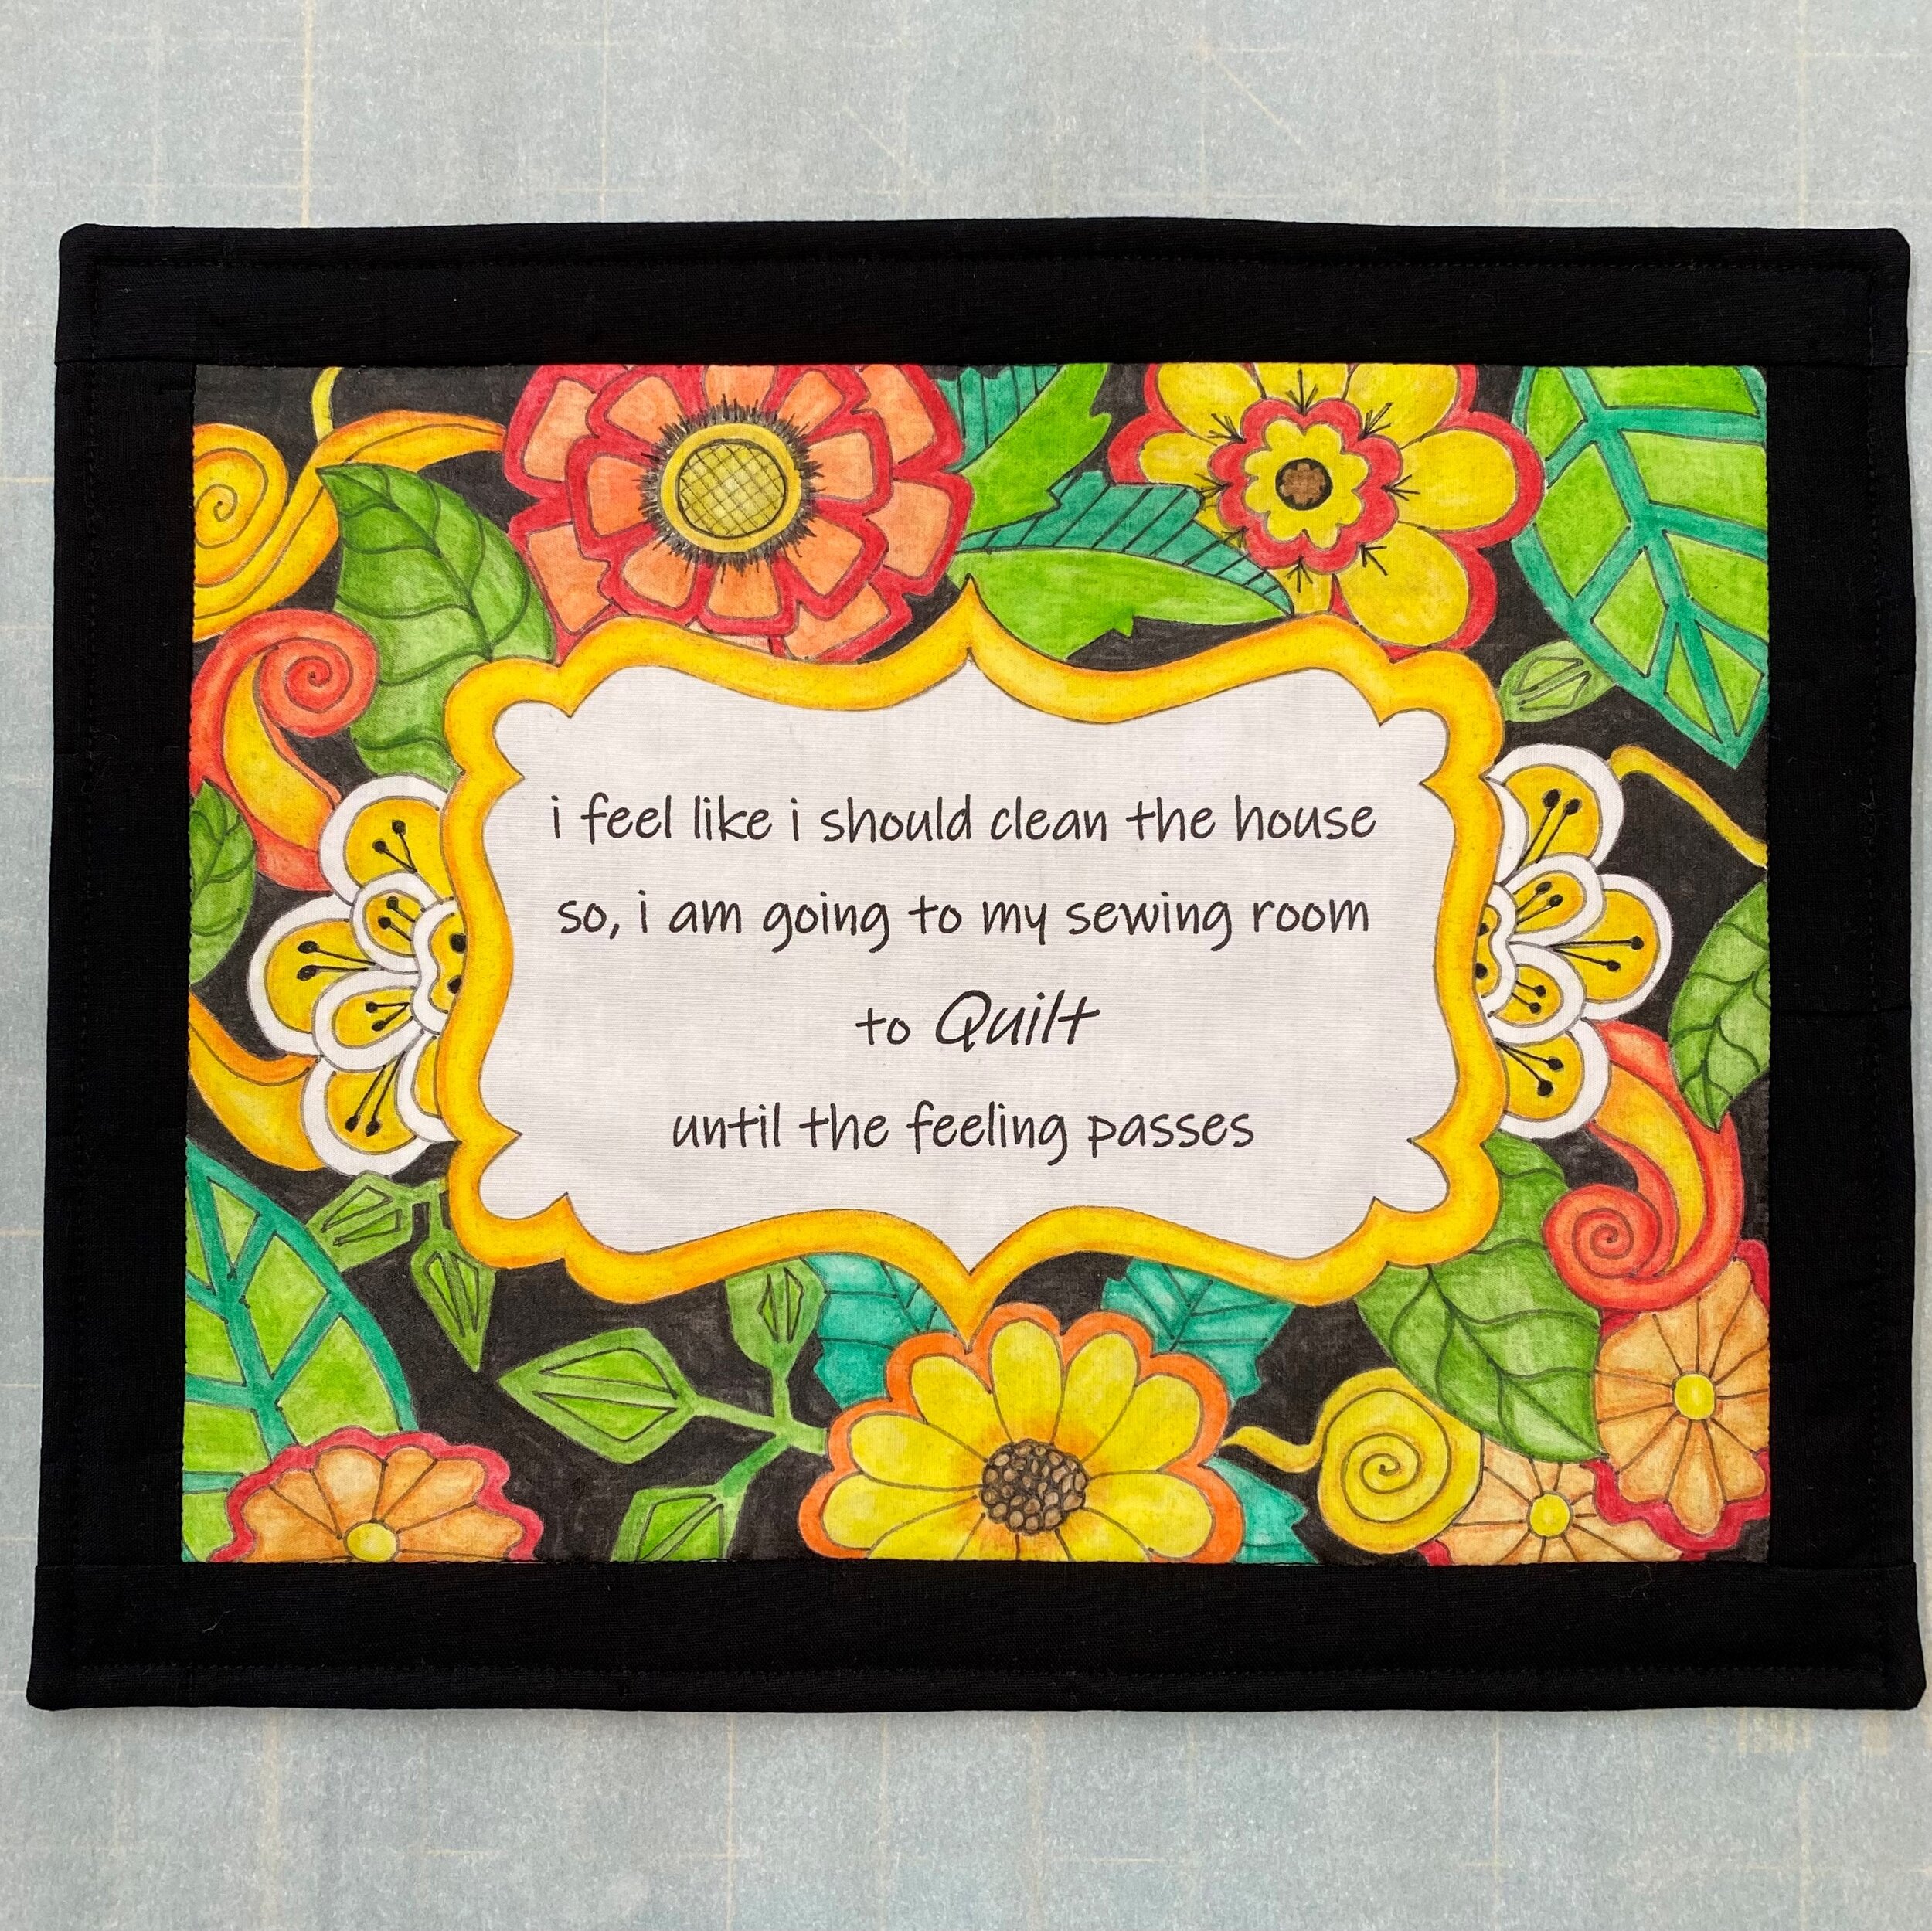
Finished mini quilt from the front (Fig 6)
Don’t forget to add some hanging loops.
Enjoy!